How To Organize A Learning Place For A Child – Do It Yourself

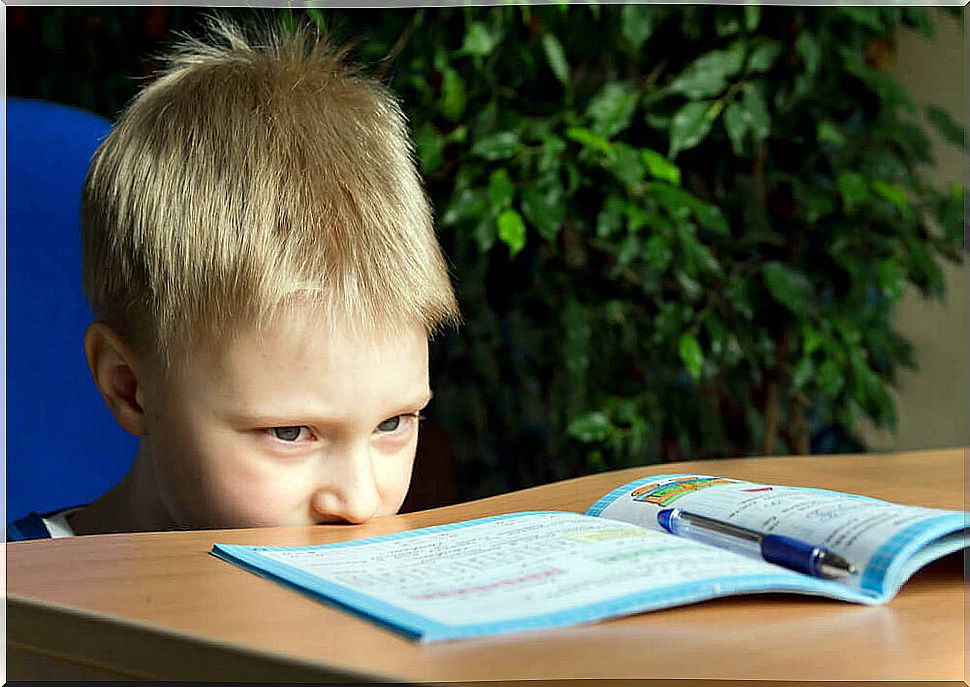
How to organize a study place for our child? Is your child’s learning space not well organized? If he’s surrounded by lots of distracting items, it won’t be easy for him to do his homework.
To make sure everything is in its place, there are a few ideas that you can make yourself.
Clutter usually builds up very quickly in the learning space. It is enough for the kids to return home after school for the desk or its surroundings to fill up with pencils, notebooks and other objects. And then it is very difficult to find what you just need.
Fortunately, there are a number of simple ways to fix this problem. A few ideas and items are enough to better organize this area. The best part is that you can make them at home, using very simple materials and giving free rein to your creativity.
Below you will see DIY (i.e. do-t0-yourself) methods that will allow you to organize a study place for your children and make the most of the time devoted to home education. Let’s start!
Ideas on how to organize a study place for a child
Recycling of boxes
Boxes are the perfect solution to keep everything in order. We just need to find unused boxes of various sizes and turn them into additional storage space. You can use cardboard, tin, fiber boxes or any other material.
Choose boxes of different shapes – each one will be good for storing something different. Square, round or rectangular boxes, with or without lids, are suitable for storing folders, pencils, magazines and all kinds of work supplies.
You can cover the boxes with nice colored paper and place them in one special corner to create a decent study area for your children. Add ribbons to them, stick pictures on them or paint them to give the space a more decorative style.
Wall-mounted organizer
An organizer with pockets that can be hung on the wall is a great way to organize a study area for children, especially if you don’t have a lot of space.
To make such an organizer, you will need a medium-sized wooden board, several sheets of EVA foam of any color, thread, white string, a sewing machine and glue.

To begin with, cut out eight rectangles for EVA pockets. Then sew them together in pairs, always leaving one of the 25 cm sides free for the pocket opening. Apply glue (or silicone) to fix the pockets to the wooden plank.
Finally, drill two holes on the board and put two holes through them to hang the board. Now all you need to do is hang the blackboard on the wall! Pockets can hold pencils, brushes, scissors and other materials.
Decorative pencil boxes
Recycled cans can be used to keep your crayons and pencils tidy. Just wash them well, cover them with attractive fabrics and colorful ribbons. You can glue them together and even attach them to the wall.
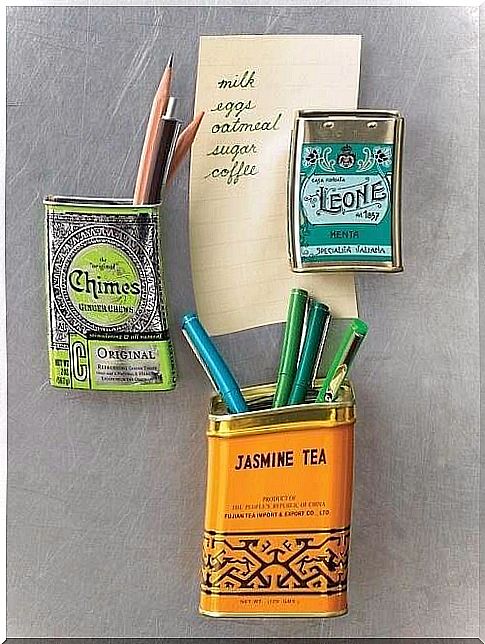
Cans prepared in this way will allow you to organize pens, pencils and crayons, thanks to which you will be able to find them quickly. Plus, they’ll look spectacular in your kids’ study corner.
The sides of the cereal boxes
Cereal boxes can make great compartments for shelves. Inside, you can put magazines, notebooks and all kinds of papers, thanks to which they will be better sorted and will not create a clutter in the study space.
To transform cereal boxes into such dividers, simply cut them diagonally, cover them with colored paper or paint them. You can use wrapping paper or any other type that you find attractive and colorful.
It’s best to use a few colors and patterns to keep the kids’ study area nicely decorated and diverse. What other items can tell us how to organize a study place for a child?
Jars for small items
Glass jars can turn into containers for those little things that always get lost, such as paper clips, rubber bands or staples. This way, they will always be at hand. Don’t forget that being well organized means making better use of learning tools, large and small.
To transform the jars you first need to wash them very well with hot water. Then select a few plastic animals and stick them on the lids. When the glue is dry and the animals are firmly attached to the lids, spray the lids with decoration in spray paint.
All these DIY ideas are excellent methods for organizing a learning area for children in a simple, alternative and inexpensive way. They also allow you to breathe new life into items that would otherwise end up in the trash.